
A pipe gave out, the floor is soaked, and the question underneath the panic is simple: what happens now? Here is the whole arc. A restoration job runs in a set order — an emergency call, an inspection with moisture meters, water extraction, structural drying to a published standard, cleaning and sanitizing, then the rebuild — with photos and readings logged for your insurer at every step. Knowing the sequence ahead of time turns a chaotic day into a list of steps you can follow.
The water damage restoration process is not a single service. It is a chain of stages, each one setting up the next, and the order matters as much as the work itself. Skip the moisture mapping and you dry the wrong wall. Rush the drying and the mold you cannot see keeps growing behind fresh paint. Done right, each stage hands off cleanly to the one after it.
At South Tempe Damage Restoration, one crew carries the job from the first phone call through the final coat of paint. You are not passed from a water company to a drying company to a separate builder, repeating your story three times. Here is what to expect, step by step, from the moment you call.
Key Takeaways
- The water damage restoration process runs in a fixed order: emergency call, inspection and moisture mapping, extraction, structural drying, cleaning and sanitizing, then reconstruction.
- Moisture meters and thermal imaging map the full extent of the water, because it spreads well past the visible stain.
- Structural drying to the IICRC S500 standard, with daily moisture readings, is the stage that actually prevents mold.
- One crew carries the job from the first call through the rebuild, so you are not handed between separate companies.
- Photos, readings, and drying logs are recorded throughout to support your insurance claim.
The first call: what we ask, and what you should do
The first call does two jobs at once. It gets a crew moving toward you, and it gives you a short list of things to do in the meantime that keep the damage from spreading. We answer 24/7 and target a 60-minute response across Tempe and the surrounding area, so help is usually close.
When you call, we ask a few quick questions to size the job and bring the right equipment: where the water is coming from, whether you have stopped it, how much of the home is affected, and whether the power is safe to leave on. None of it is a quiz. It just means the truck arrives ready for your situation instead of guessing.
While you wait, a few simple moves protect your home and your claim:
- Stop the water at the source if you can — the fixture shutoff, or the main valve by the street.
- Cut power to wet rooms at the breaker, but only if you can reach it without standing in water.
- Lift what you can off the wet floor — furniture legs, electronics, boxes, and rugs.
- Start photographing everything before you move it, for the insurance file.
- Stay out of any water that may have touched sewage or that sits near outlets.
Inspection and moisture mapping
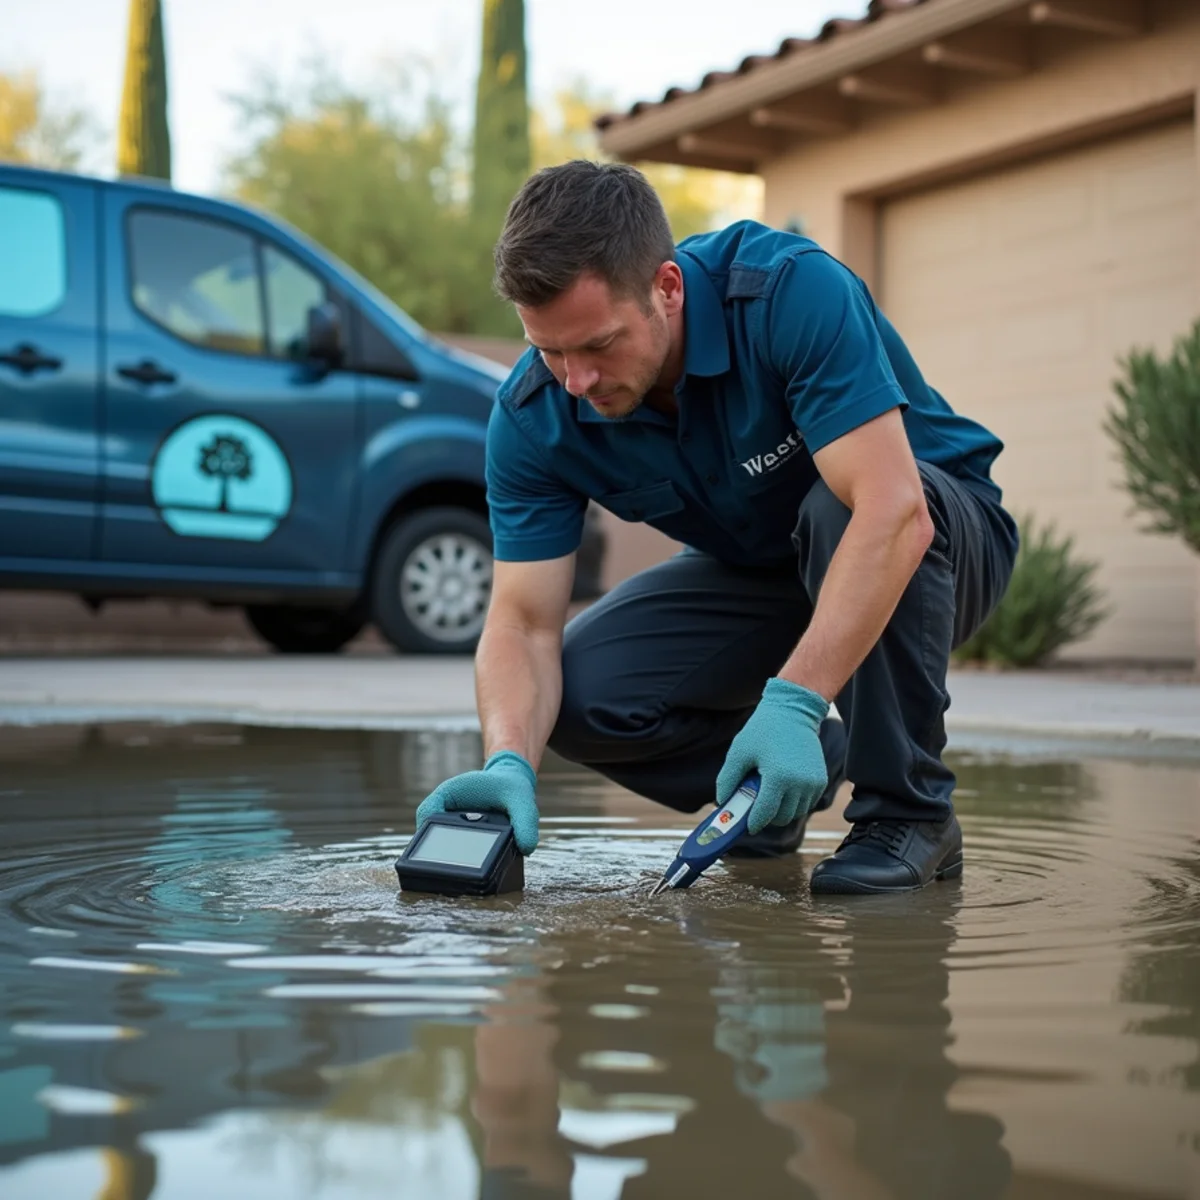
Before anything gets dried, the crew finds out how far the water actually went. Water does not stay where you can see it. It wicks up drywall, runs flat under tile and vinyl, and pools inside wall cavities, so the wet area is almost always larger than the stain on the floor.
Two tools do the finding. Moisture meters read how much water sits in a given material, and thermal imaging cameras show the temperature differences that reveal where water has traveled behind walls and under floors. Together they map the real edges of the loss, so the drying targets every wet spot instead of guessing at the boundary.
The inspection also sets the water category — clean, gray, or black — which decides what can be dried and saved versus what has to come out for safety. That single call shapes the rest of the job, from the protective gear the crew wears to what leaves the house in bags.
Active water emergency right now?
We answer 24/7 — a real person, not a machine.
Water extraction
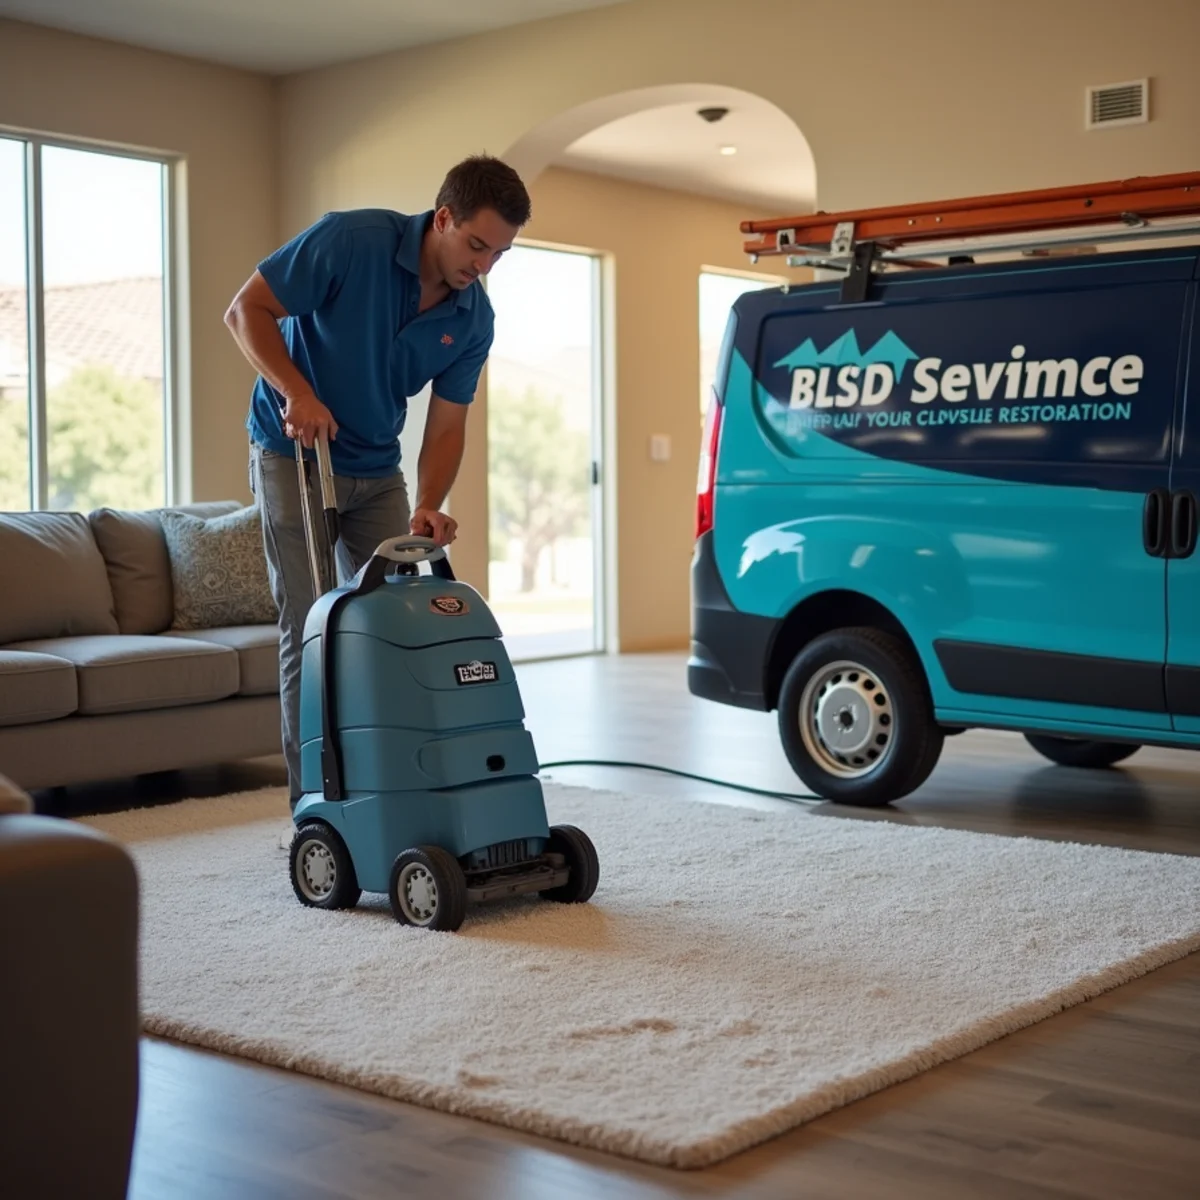
With the map done, the standing water comes out first, because every hour it sits it soaks deeper into materials that might otherwise be saved. Truck-mounted and portable extraction units pull water out far faster than any wet vacuum, and clearing the bulk of it is what makes the drying that follows possible.
Some materials hold too much water to dry in place, and trying to save them only slows the job and invites mold. The crew removes what is past saving so the structure underneath can dry:
Everything that comes out is documented as it goes, so there is a clear record of what was removed and why.
- Soaked carpet pad, which acts like a sponge and rarely dries in time
- Swollen particleboard, laminate, and water-logged baseboards
- Drywall that has wicked water up past the point of drying, cut back to a clean line
- Wet insulation inside wall cavities, which holds moisture against the framing
Structural drying to the IICRC S500 standard
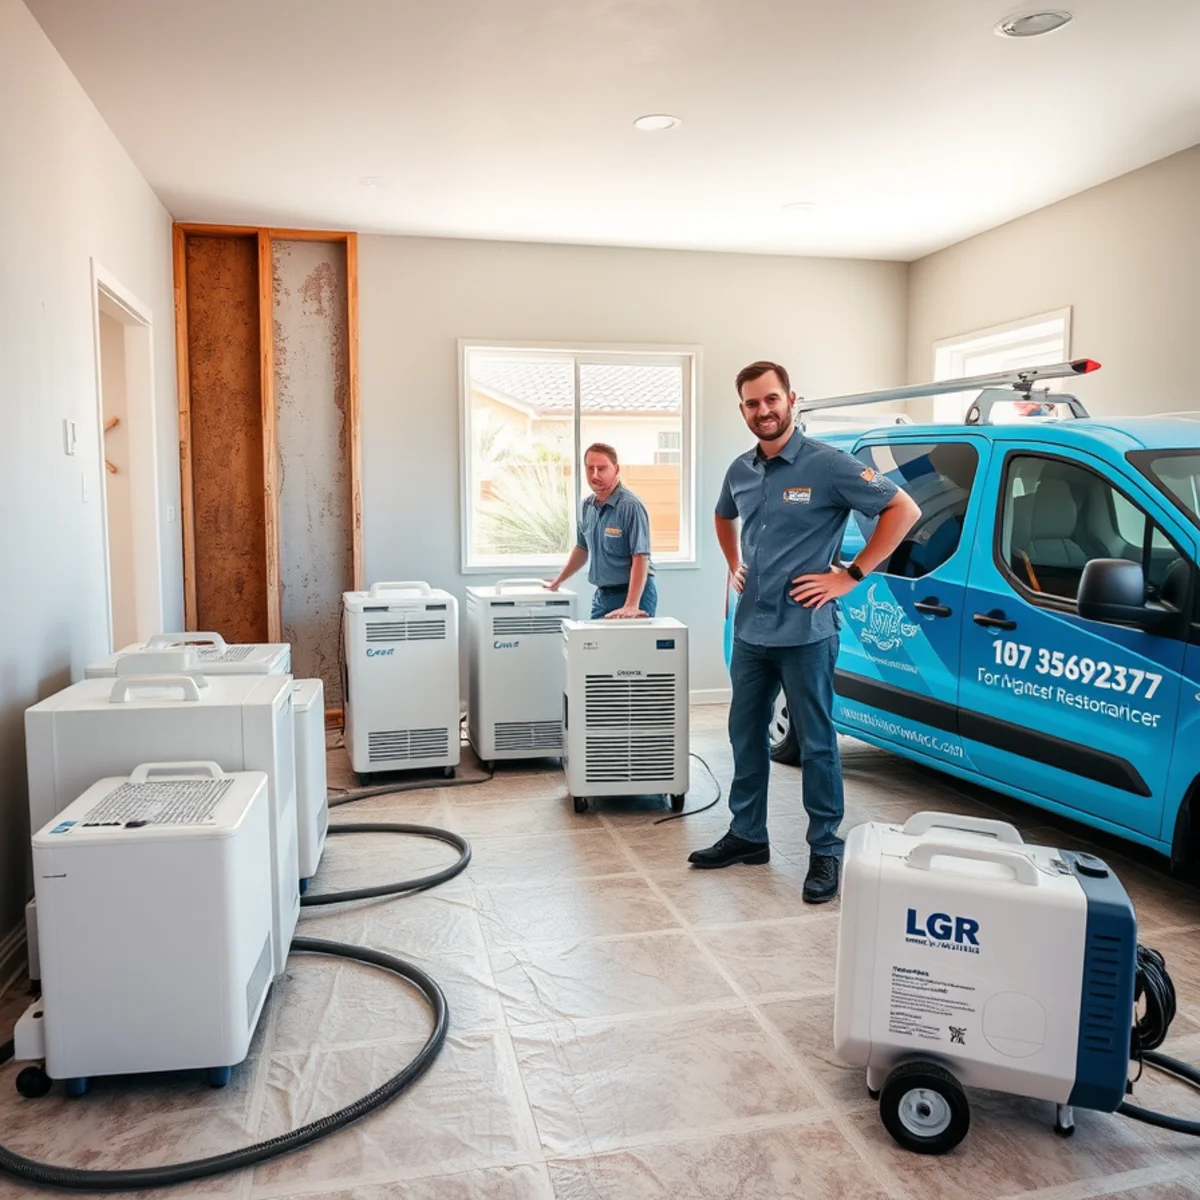
Extraction gets the water you can see. Drying gets the water you cannot — the moisture still inside the framing, the subfloor, and the drywall that stayed. This is the stage that actually prevents mold, and it follows the IICRC S500 standard, the industry reference for how structural drying should be done.
The crew sets air movers to push air across the wet surfaces and commercial dehumidifiers to pull the released moisture out of the air, building a drying system tuned to the specific room. In Arizona that often means drying against the clock, since heat can push mold from spores to a visible colony in 24 to 48 hours.
Drying is not set-and-forget. The crew returns daily to read the moisture levels, log the numbers, and adjust the equipment as materials give up their water. The job is not finished when things feel dry to the hand. It is finished when the meters confirm the materials are back to a normal, dry standard.
Cleaning, sanitizing, and deodorizing
A dry structure is not automatically a clean one. Depending on the water category, the surfaces, the contents, and the air itself may need cleaning and antimicrobial treatment to be safe again. This matters most after gray or black water, which leave contamination behind even once the moisture is gone.
Odor is its own task. A musty smell after water damage is a sign of microbial growth, and it does not respond to air freshener. Once the space is dry and clean, the crew treats any lingering odor at the source with HEPA air scrubbing and deodorizing, rather than masking it. Salvageable contents are cleaned, and whatever cannot be saved is documented for the claim.
Reconstruction and the final walkthrough
Mitigation stops the damage and dries the home. Reconstruction puts it back. That work can range from new baseboard and a drywall patch to replacing flooring and repainting a room. Because the same company that dried your home handles the rebuild, nothing gets lost in a handoff between a dry-out crew and an outside contractor.
The job closes with a walkthrough. The crew confirms the moisture readings are back to normal, checks that the repairs match the existing finishes, and makes sure the work is done to your satisfaction — then leaves you with the documentation for your records and your insurer.
Documentation for insurance, start to finish
Running quietly alongside every stage is the paperwork your claim depends on. From the first inspection onward, the crew records moisture readings, photographs the damage and the work, logs the daily drying numbers, and itemizes what was removed and why. That record shows the loss was handled promptly and correctly, which is exactly what an adjuster looks for.
This is general information about how the process tends to work, not legal or coverage advice — your policy decides what is covered. What we can promise is that the documentation is thorough and handed over as the job moves, so you are never scrambling to reconstruct what happened after the fact.
Frequently Asked Questions
What are the steps of water damage restoration?
The main steps are the emergency call and inspection, moisture mapping with meters and thermal imaging, water extraction, structural drying and dehumidification to the IICRC S500 standard, cleaning and sanitizing, and finally reconstruction. Documentation for your insurer runs through all of them. One crew should carry the job from start to finish.
What is the difference between mitigation and restoration?
Mitigation is the emergency work that stops the damage from getting worse — extracting water, removing ruined materials, and drying the structure. Restoration is putting the home back together afterward, from drywall and baseboard to flooring and paint. Mitigation comes first and fast; restoration follows once everything is dry.
Do I have to move out during the process?
Often no. Many water losses are contained to part of the home, and the drying equipment, while noisy, lets you stay. You may want to relocate if a large area is affected, if the water was contaminated, or if the noise and humidity become too much. We will tell you honestly what your situation calls for.
How long does water damage restoration take?
Drying a typical home usually takes about three to five days, confirmed by moisture readings rather than a guess. Reconstruction depends on how much was removed and can add days to a few weeks. Contaminated water, large losses, and extensive rebuilds take longer. A free on-site assessment gives you a realistic timeline for your specific loss.